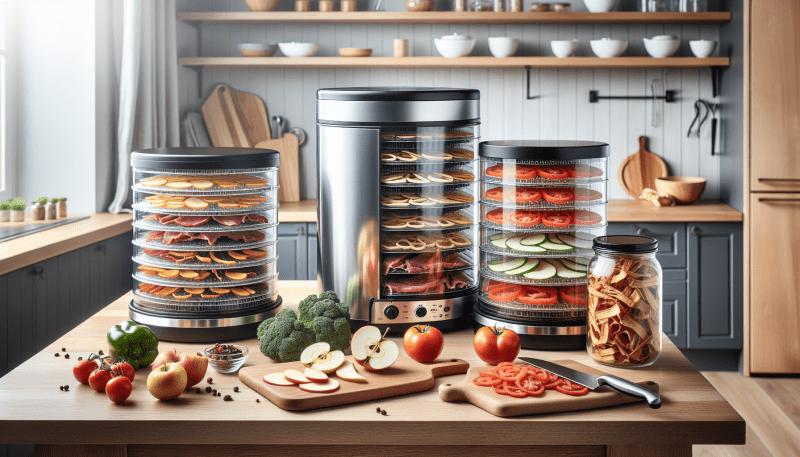
When it comes to selecting the perfect fruit dehydrator, there are a few key factors to consider that can make a big difference in your drying experience. First and foremost, think about the capacity you need. If you're planning to dehydrate large batches of fruit, a model with multiple trays and a larger drying area will be beneficial. On the other hand, if you’re just trying it out or only have a small amount of fruit to preserve, a compact dehydrator might be all you need.
Next, consider the drying method. Some dehydrators use convection heat, which circulates air around the food to dry it evenly. Others might use a heat source located at the bottom of the unit. Models with a fan are generally preferred, as they provide consistent airflow and reduce the chance of hot spots. Look for one with adjustable temperature settings as well; different fruits require different heat levels for optimal drying.
The noise level of the dehydrator is also something to keep in mind. Some models can be quite loud, which might be an inconvenience if you plan to run the dehydrator overnight or for an extended period. Reading customer reviews can give you insight into how noisy a particular model is and help you choose one that suits your lifestyle.
Lastly, ease of cleaning and maintenance is a crucial consideration. Look for dehydrators with removable trays that are dishwasher safe, as this feature can save you a lot of time and hassle after a big drying session. Some units may also come with non-stick surfaces or are made from materials that won’t retain odors, making them easier to keep fresh for the next batch of delicious dried fruits.
How to Prepare Your Fruit
Preparing your fruit for dehydration is a crucial step that can significantly enhance the quality of your final product. Start by selecting fresh, ripe fruits. The better the fruit, the tastier the dried result will be. Wash your fruits thoroughly to remove any dirt or pesticide residues. If you’re using organic fruits, a simple rinse will suffice, but it’s still a good practice to wash them.
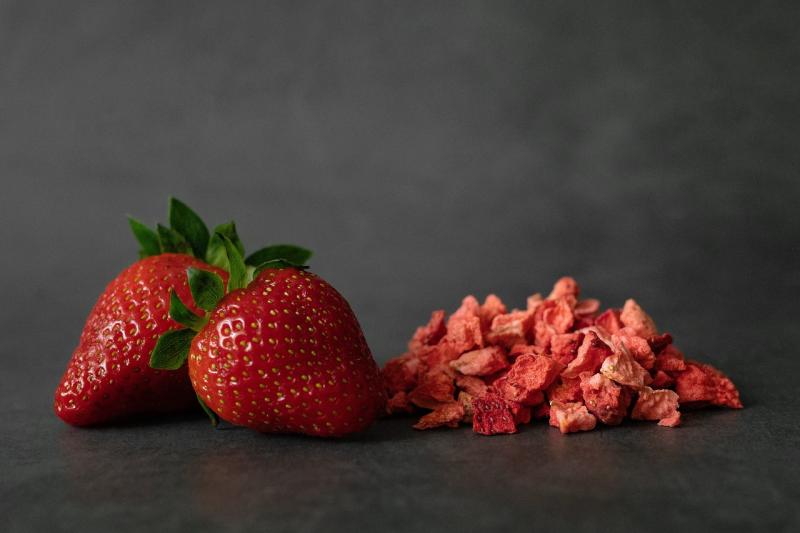
Next, you’ll need to cut your fruits into uniform sizes. This ensures even drying, which is essential for taste and texture. For larger fruits like apples or peaches, slice them into rings or wedges, while smaller fruits like berries can be left whole. Remember to remove any pits or seeds, as these can become hard and unpleasant to eat once dehydrated.
If you want to preserve the color and flavor of your fruits, consider using a pretreatment method. Soaking your fruit slices in a mixture of water and lemon juice for about 15 minutes can help. Not only does it keep the fruit looking vibrant, but it also adds a hint of citrusy flavor. Rinse the fruit afterward and let it drain before transferring it to your dehydrator.
Finally, make sure to arrange the fruit slices in a single layer on your dehydrator trays. Avoid overcrowding, as this can lead to uneven drying. Give your fruit the space it needs to air out and dry thoroughly. With just a little preparation, you'll be well on your way to enjoying delicious, homemade dried fruit!
Dehydration Process Step by Step
Dehydrating fruit is a simple process that allows you to preserve your favorite snacks for longer periods. By removing moisture, you prevent the growth of bacteria, yeast, and mold, keeping your fruits tasty and nutritious. Here’s a step-by-step guide to help you through the dehydration process:
Step 1: Choose Your Fruit
Start by selecting ripe, high-quality fruit. Apples, bananas, strawberries, and mangoes are popular choices. Ensure that the fruit is free from bruises and blemishes, as these can compromise the final product. Wash the fruits thoroughly to remove any dirt or pesticides.
Step 2: Preparing the Fruit
After washing, slice the fruits into uniform pieces. This ensures even drying. For fruits like apples and pears, consider removing the core before slicing. Depending on your taste preference, you can leave the skin on or peel it off. If desired, soak the slices in a solution of water and lemon juice to prevent browning.
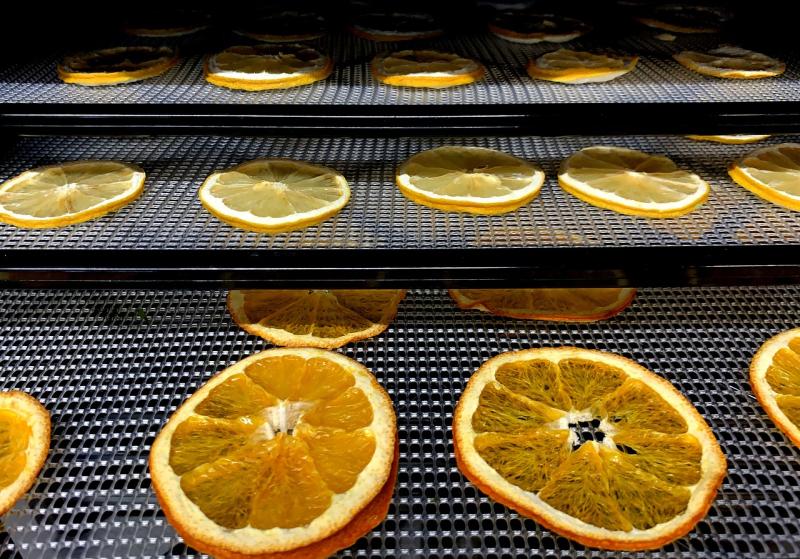
Step 3: Arranging on the Dehydrator Trays
Load the prepared fruit slices onto the dehydrator trays, ensuring they do not overlap. This allows for proper air circulation and more efficient drying. If you're using a dehydrator with multiple trays, consider rotating them midway through the process for even results.
Step 4: Set the Temperature and Timer
Adjust the dehydrator settings based on the type of fruit you're drying. Generally, temperatures of 125°F to 135°F work best. Set the timer according to the fruit type; it can take anywhere from 6 to 24 hours for complete dehydration. Periodically check the fruit to see if it’s reached your preferred texture.
Step 5: Storage
Once dried, allow the fruit to cool completely before storing. Store your dehydrated fruits in airtight containers or vacuum-sealed bags to keep them fresh. Label them with the date, so you can keep track of their shelf life. Enjoy your wholesome snack anytime!
Storing Dried Fruits for Freshness
Storing dried fruits properly is essential to maintain their freshness and flavor. Whether you’ve dehydrated your own fruits or purchased them, the right storage methods can help keep them delicious for an extended period. The key factors to consider are moisture, light, and temperature.
First, ensure that your dried fruits are completely cooled before storing them. If they are still warm, residual moisture can cause condensation inside the storage container, leading to spoilage. Once cooled, use airtight containers like glass jars, vacuum-sealed bags, or food-safe plastic containers. These options effectively keep out air and moisture, which are the enemies of dried fruit freshness.
It’s also important to store dried fruits in a cool, dark place. Heat and light can degrade the quality of the fruits over time, causing them to lose flavor and nutritional value. A pantry or cupboard is usually a great choice. For even longer storage, consider placing your dried fruits in the refrigerator or freezer. Just make sure to use airtight containers to prevent any moisture from entering.
Finally, always label your containers with the date of storage. Dried fruits, when stored properly, can last for months or even years, but keeping track of their age ensures that you enjoy them at their best. This simple practice will help you know when it’s time to use or replace them, ensuring that your dried fruits remain a tasty and healthy snack.